
Hi. Today I am going to show you how you can run your first CI project in Azure Pipelines.
This article is part of a series on how to get started with popular CI/CD tools. In this entry I will show you how to prepare the process of building and testing a simple Maven-based project.
What is Azure Pipelines?
Azure pipelines is a Continuous Integration and Continuous Delivery service. Its purpose is to continuously build, test and prepare packages from source code (CI). The built packages can then be installed at a location of your choice (CD).
The service runs within the Microsoft Azure cloud which means you don’t have to deal with maintaining the system itself to build. It also gives you access to all the benefits of the Azure cloud, such as scalability and integration with other services.
This service allows you to build projects based on many different languages, including : Python, Java, JavaScript, PHP, Ruby, C#, C++, and Go.
Preparations
Projects in Azure Pipelines can use code hosted in either GIT repositories or Azure Repo. In our tutorial, we will use code that will be hosted on GitHub. Therefore, it is necessary to have an account on this service at the beginning.
After potentially creating a GitHub account, I also suggest creating a fork (copy) of the repository available at: https://github.com/czerniga/helloworld . In this repository, I have posted a simple Java project that will serve as the source code for our CI project.
Creating an organization in Azure Devops
Projects in Azure pipelines are created within Azure DevOps Organizations. Organizations in Azure DevOps is a mechanism that allows you to organize and group projects together.
Therefore, you should create an organization or use an existing one before you start. If you already have an organization in which you can create projects then you can move on to the next section.
We can create an organization by going to this address: https://aex.dev.azure.com/ . After entering the page you need to confirm your account and proceed further. On the next page click Create new organization.
On the next page we choose a name for our organization and where our applications will be hosted. After confirmation we should go to the page where we can create a project. Here we give the project a name and choose whether the project is to be available to the public or not (here we can leave the Private option).

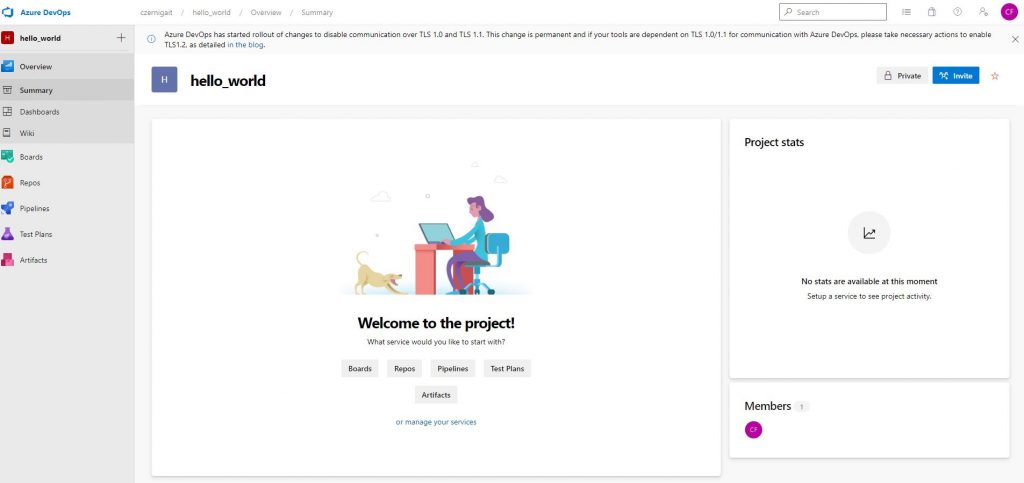
After clicking Create project we will go to the panel containing our project.
Creating a pipeline in CodeBuild
In the main panel, select Pipelines and then Pipelines again.
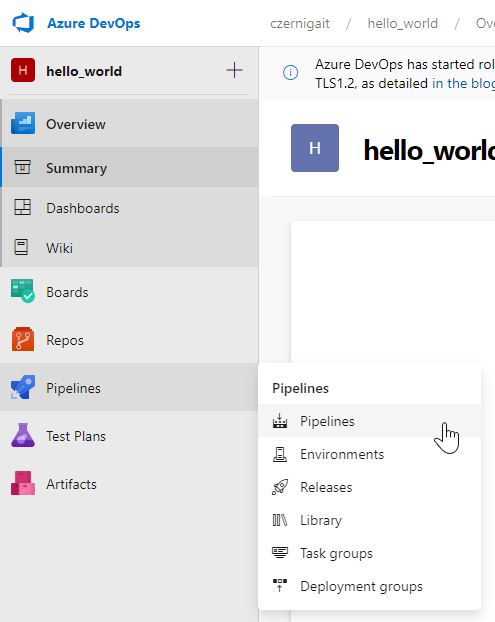
On the next page, click on Create pipeline.
Now we need to choose where we store our code. In our case, this will be GitHub, where we have the cloned project. Therefore, on this screen, we select the GitHub option.

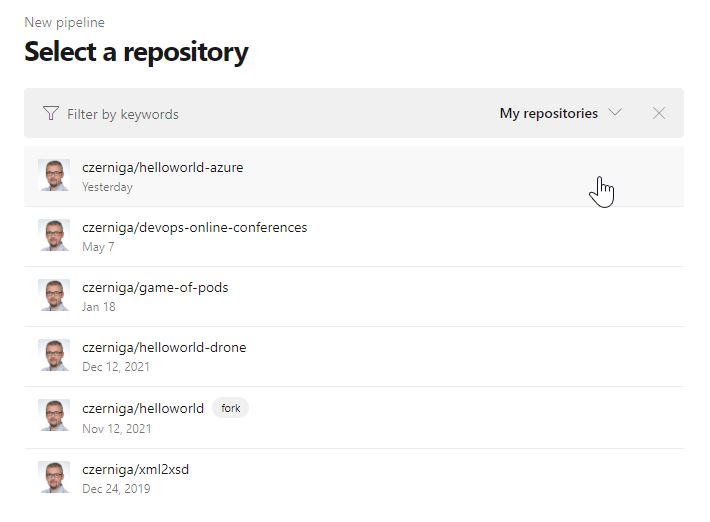
On the next page, we need to log in to our GitHub account. After logging in, we can see our projects in GitHub. Here we select our Maven project repository. In my case, it’s czerniga/helloworld-azure. In your case, it should be a project that is a copy of the project I wrote about at the beginning of the post.
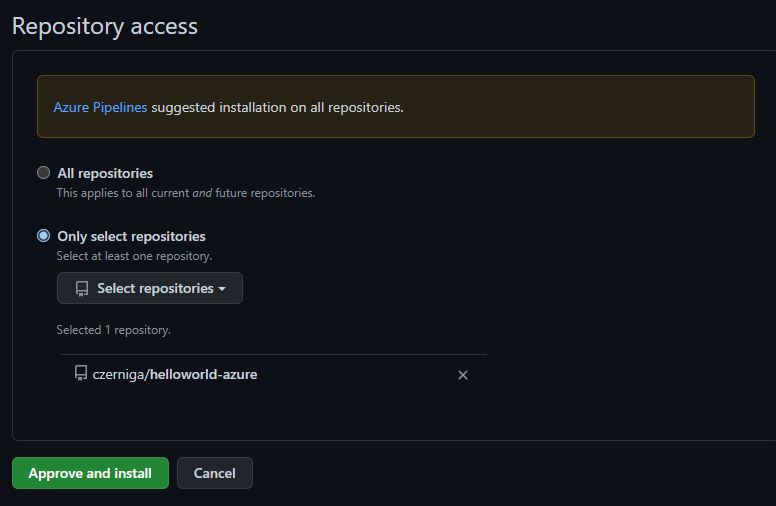
After selecting the repository, we will go to the GitHub page where we will need to grant read and write permissions to the repository. This is necessary for the Azure DevOps service to read the source code. Additionally, the service also writes pipelines in the application code. In this way, we can manage the entire process just like the application code.
Here, before clicking Approve and install, we can choose whether the service should have access to all repositories or only to one selected one.
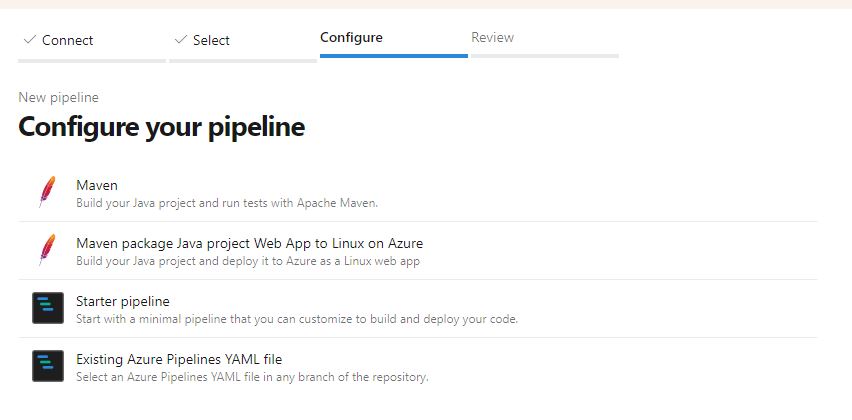
When you go back to Azure DevOps, you will get some suggestions for the first version of the process (Pipeline). The service itself has detected from the code that it is dealing with a Maven project. Therefore, we also select the first option: Maven.
When we get to a new screen, we will see a code editor for our pipeline. The service itself will create a sample pipeline containing default options such as docker container or switches for Java.
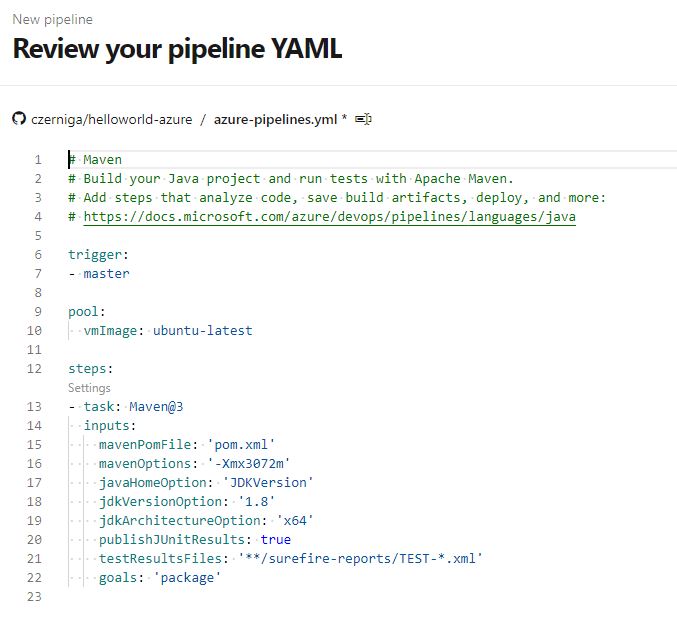
However, we will paste our code into the text field:
# Maven
# Build your Java project and run tests with Apache Maven.
# Add steps that analyze code, save build artifacts, deploy, and more:
# https://docs.microsoft.com/azure/devops/pipelines/languages/java

trigger:
- master

pool:
  vmImage: ubuntu-latest

steps:
- task: Maven@3
  displayName: Build
  inputs:
    mavenPomFile: 'pom.xml'
    mavenOptions: '-Xmx3072m'
    javaHomeOption: 'JDKVersion'
    jdkVersionOption: '1.8'
    jdkArchitectureOption: 'x64'
    goals: '-B -DskipTests clean package'

- task: Bash@3
  displayName: Test
  inputs:
    targetType: 'inline'
    script: java -cp target/helloworld-1.1.jar com.coveros.demo.helloworld.HelloWorld
The code above defines for us two phases of the pipeline: building and testing our application:
- task Maven@3: here we build our project in Maven (commands are given in goals field)
- task Bash@3: here we run our simple test (commands are given in the script field)
As you may notice, the above definition is very similar to definitions in other tools such as CircleCi (How to prepare your first CI/CD project in CircleCI?) or Gitlab (How to install GitLab using Docker Compose?).
After pasting the code for our process we click on Save and Run. A new panel will now appear, where we give a message to our commit in the repository and choose in which branch we want to save our file (master by default).

Now click on Save and Run again.
On the new screen, we will see our first pipeline waiting to be run for the first time.

After a few moments, we should see that the task was successful.

If we click on the task (Job) we will be taken to the details of our task. There we can see how the process of building and testing our application looked like,

Summary
In this Azure Pipelines tutorial, I showed you how to quickly create your first project in Azure Piepilne. The project creation process itself should not take more than 10 minutes.
Microsoft also provides a free option for its service. For public projects we can use it for free. For private projects, we have 30 hours of tasks available for free every month.
This gives us the opportunity to see if this solution is right for us at no cost.
Be First to Comment