Hi. Today I will show you how you can quickly create your first CI project in Buddy.
This article is part of a series showing how to get started with popular CI/CD tools. As part of this post, I will show you how to prepare the process of building and testing a simple Maven-based project.
What is Buddy?
Buddy is a Continuous Integration and Continuous Delivery service. Its purpose is to continuously build, test and prepare packages from source code (CI). The built packages can then be installed at a location of your choice (CD).
Buddy is very friendly to people who are getting started with CI/CD. This is because it provides a very easy interface that allows you to get started very quickly.
In addition, Buddy makes its system available as an online service as well as gives the option of installing it on its own servers. In this way, the customer can choose what is convenient for him.
In addition, the system provides several plans to choose from. Among them is a free plan that allows us to set up to 5 projects, where we can run the build process up to 120 times a month. I think this is a good option for small teams starting out with CI/CD.
Before we even begin the preparation, I must praise the company for its quick and efficient user support. During the preparation of this article, there was a technical problem in my account related to permissions in GitHub. I contacted support via chat on the site. After several minutes they were able to track down the problem and solve it. Such an approach to the customer I recommend! 🙂
Preparations
Projects in Buddy can use code hosted in GIT repositories. In our case, we will use code that will be hosted on GitHub. Therefore, at the beginning it is necessary to have an account on this service.
After possibly creating an account in GitHub, I also suggest creating a fork (copy) of the repository available at: https://github.com/czerniga/helloworld . In this repository I have posted a simple Java project that will serve as the source code for our CI project.
Create an account
The first step should be to create an account on the site. To do this, we go to https://buddy.works/sign-up. When creating an account, we can choose to authenticate with a GitHub or Bitbucket account. In addition, we can also create a standard account associated with our email address.
Here I suggest using a GitHub account.

During authorization, it is a good idea to grant permissions to our repository, where the source code of our application is located.

Let’s create the first project
After logging into your account, we should see the following view:

To create a project, click Create project. On the next page, we select helloword project, which was copied from my account. After a while, we will be taken to a page where we will create a new build process (pipeline).

Let’s create the first pipeline
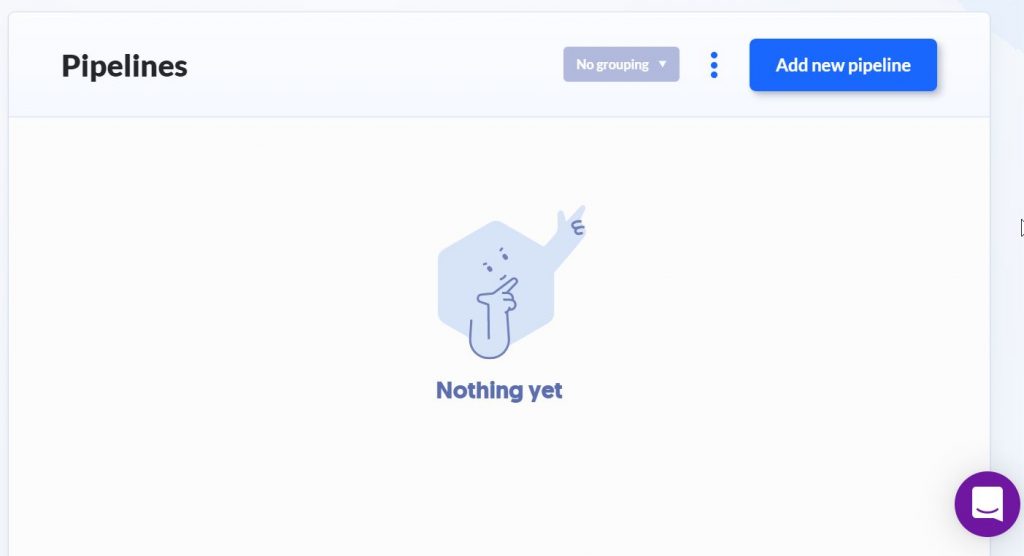
Now we click on Add new pipeline. On the next page, we specify a name for our pipeline (e.g. Maven build). We leave the other options at their default values.

Now we click on Add pipeline.
On the new page we have the possibility to add actions to our pipeline. As you can see, the producer provides a great number of redefined actions (I think there are dozens of them). In our case, we will be interested in the Maven action. To make it easier to find this action, I suggest typing the name maven into the filter.

Select the action and click on Copy from pipeline.
On the next page we see the configuration of our action. Our goal here is to change the build command to: mvn clean package.

We add the action using the Add this action button.
In the next step, we will add a simple test that runs our application in the container. To do this, we click on the small plus below our first action and select Add Action.

In the new window, we select a new action type: local shell. In the next window, we click on the Environment tab and change the default Ubuntu image to openjdk.

Now go back to the Run tab and there, in the panel containing commands, type:
java -cp target/helloworld-1.1.jar com.coveros.demo.helloworld.HelloWorldWe add the action using the Add this action button.

Now it’s time to run our pipeline. To do this, we start it by clicking Run and Run now on the next page.

After a while, the process should complete successfully, as in the following screenshot.

By clicking on the Logs button in each step we can preview the logs. As you can see, the process ended up building and running the application correctly.
Summary
In this tutorial I showed how you can very quickly start your first project in Buddy. At this point, you can see that the producer very strongly supports the creation of processes through the user interface. In addition, it provides a great deal of ready-made add-ons that we can use when building our pipelines.
However, nothing prevents us from using the system with pipelines defined in the code. Each pipeline can be exported to a yaml file. It is also possible to import the finished file as a new pipeline.

Great article with the illustrations made it very understandable. Buddy ROCKS.